Keeping translations in sync across iOS, Android, and web projects is rarely straightforward. Different file formats, scattered translation files, and the constant back-and-forth between tools can slow you down. Adding localization to your workflow shouldn't feel like an extra chore, but too often, it does. 😥
Instead of handling files manually, what if you could focus on keeping translations accurate and up to date? With Localazy CLI, you can upload and download translations, convert between formats, and manage localization efficiently across platforms — no more manual file handling or format mismatches.
In this guide, I'll explain how to use the Localazy CLI to simplify your localization workflow. This will save you time and reduce errors while keeping translations consistent across all your apps.
🛠️ Setting up Localazy CLI 🔗
Before diving into the commands, let's set up the CLI in a few steps:
1. Install Localazy CLI 🔗
Run: npm install -g @localazy/cli
2. Create a new project 🔗
If you haven't already, sign up at Localazy or log in to your account and create a new project. Set the source language and add any target languages you need.
3. Generate access keys 🔗
Navigate to your project settings and generate the write and read keys. You'll need these to configure the CLI.
4. Configure Localazy CLI 🔗
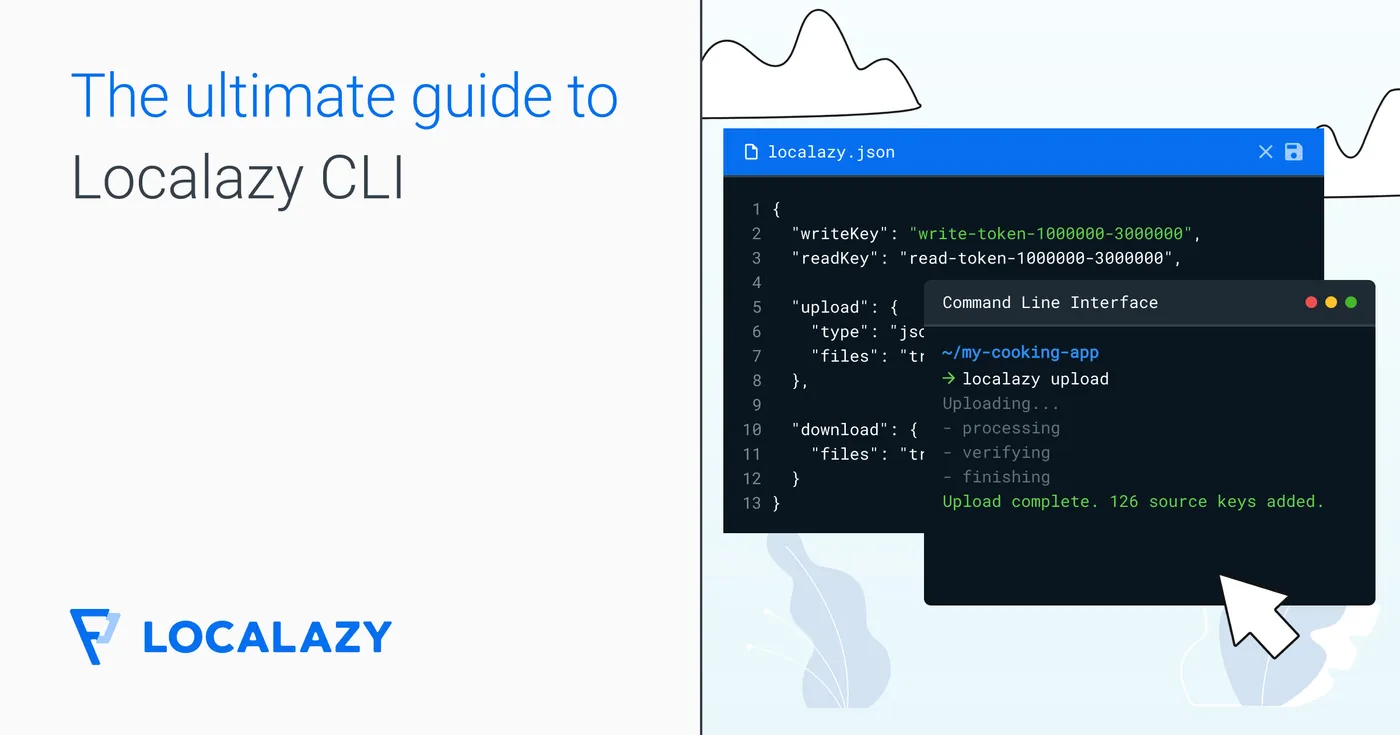
Create a localazy.json file in your project root with the following content:
{
  "writeKey": "YOUR_WRITE_KEY",
  "readKey": "YOUR_READ_KEY",
  "upload": {
    "type": "json",
    "files": "PATH/TO_YOUR/FILE"
  },
  "download": {
    "files": "PATH/TO_SAVE/YOUR_FILE"
  }
}
New around these parts? Check out our quickstart CLI video tutorial for developers 👇
⬇️ Running key commands 🔗
Now that the CLI is set up, let's discuss a few basic commands to manage your translations.
Upload command 🔗
To upload the source language file (en.json in our case) to Localazy, use the following command:
localazy upload
The upload command runs the upload object in the Localazy configuration file, which can include several upload rules.
Download command 🔗
To download the translations for all target languages, run the Localazy download command:
localazy download
This command executes the rules specified within the download object of your configuration file. It also updates your local files with the latest translations according to the defined settings, making it easy to keep them current and accurate.
Conversion rules 🔗
The next important command involves converting source files to different formats. Conversion rules typically run immediately after the download rules, ensuring that your files are in the desired format as soon as they are downloaded.
You can also convert files using the type remapping feature during upload, which allows you to handle various file conversions throughout the process.
To convert files during uploads, modify the upload rules as shown below:
//localazy.json

 "upload": {
    "files": {
      "type": "excel",
      "pattern": "PATH/TO_YOUR/FILE",
      "file": "myTranslate.json5",
      "remap": {
        "type": "json5",
        "flatten": ".",
        "nest": "."
      }
    }
  }
The "upload" object above specifies the rules for uploading translation files as follows:
- The
"type"indicates that the source file is in Excel format. - The
"pattern"specifies the path to the Excel file to be uploaded. - The
"file"defines the name of the output file after conversion in the Localazy server. - The
"remap"object contains rules for converting the file format during the upload process. "type": "json5"specifies that the file should be converted to JSON5 format.
In summary, this configuration uploads an Excel file, converts it to JSON5 format (myTranslate.json5), and applies remapping rules to it.
👉 To learn more about Localazy uploads, including uploading multiple files, visit the upload reference
Next, let's discuss how to handle conversions during downloads. Add the following snippet to the localazy.json file:
//localazy.json
"download": {
//your download rules here
  },
  "conversion": {
    "actions": {
      "type": "json",
      "output": "public/locales/convertions/${myTranslate.json5}"
    }
  }
The snippet above does the following:
- The
"actions"object contains the details of the conversion actions to be performed. "type": "json"indicates that the target format for the conversion is JSON.- The
"output"specifies the output path and filename for the converted file. The${myTranslate.json5}is the filename in the Localazy server — this is vital in case there are multiple files.
The above configuration converts the downloaded file to JSON format and saves it to the specified output path (public/locales/conversions/${myTranslate.json5}).
Now that you've seen the key commands and how to use them, the next section will guide you on how to manage translation files for both Android and iOS.
🔁 Syncing translations across platforms 🔗
One of Localazy CLI's biggest advantages is its ability to handle translations for multiple platforms in one single workflow.
Imagine you have an application with identical content for both Android and iOS platforms. A common challenge is keeping translations in sync between the two projects, especially since the strings are often nearly identical. Another concern is how to reuse translations across platforms to avoid paying translators twice for translating duplicate content.
Localazy addresses these concerns by allowing you to upload content from either Android or iOS as the main source. You can then complete the desired translations and download the content in the format required by the other platform using format conversions.
This ensures consistency and efficiency in managing translations across both platforms. Below is a practical example of how to upload content in an Android project and download it to an iOS project with the help of format conversions.
Uploading content from Android 🔗
To upload the source content in an Android project, first create a strings.xml file in the desired directory. Use the following snippet as an example of what the file should contain:
//strings.xml

<?xml version="1.0" encoding="utf-8"?>
<resources>
    <string name="welcome_message">Welcome to our app!</string>
    <string name="button_continue">Continue</string>
    <string name="settings_title">Settings</string>
</resources>
Next, in the root of your project, create a localazy.json file with the following snippet:
//localazy.json
{
  "writeKey": "YOUR_WRITE_KEY",
  "readKey": "YOUR_READ_KEY",
  "upload": {
    "type": "android",
    "files": "path_to/your_file/res/strings.xml"
  }
}
Now run the upload command in the terminal to upload your file:
localazy upload
After uploading your strings.xml file, navigate to the Localazy server and add your desired translations, such as French and Spanish.
Downloading content to iOS 🔗
To convert and download the strings.xml file uploaded from your Android project for use in an iOS project, create a localazy.json file in the root directory of your project with the following snippet:
//localazy.json
{
  "writeKey": "YOUR_WRITE_KEY",
  "readKey": "YOUR_READ_KEY",
  "download": {
    "files": "public/locales/ios-app/${iosLprojFolder}/Localizable.strings"
  },
  "conversion": {
    "actions": {
      "type": "ios-strings",
      "output": "public/locales/ios-app/${iosLprojFolder}/Localizable.strings"
    }
  }
}
In the snippet above, download.files specifies where to save the downloaded Localizable.strings files using the ${iosLprojFolder} variable to create language-specific folders dynamically.
Next, run the download command in the terminal to download your iOS strings in the specified folder:
localazy download
And you're done! ✅ You've successfully uploaded content from one platform (Android) and converted it for the other (iOS).
📑 Learn more about format conversion configuration here
🤕 Common CLI mistakes to avoid 🔗
Even with a powerful tool like Localazy CLI, it's easy to run into issues. Here are some common mistakes and how to avoid or fix them.
1. Incorrect file paths 🔗
Double-check your file paths in the localazy.json configuration. Confirm they match the actual paths in your project to avoid misconfigured upload and download errors.
2. Missing access keys 🔗
Make sure your write and read keys are correctly added to the localazy.json file. If you encounter authentication errors, regenerate the keys from your Localazy account.
3. Unsupported file formats 🔗
Verify that Localazy supports the file formats you're using or translating to. Refer to the documentation for a list of supported formats.
4. Network issues 🔗
If you experience network-related errors, check your internet connection and try again. You can also use a VPN if you're facing regional restrictions.
😎 My recommended automation workflow 🔗
To make the most out of Localazy CLI, here's my personal workflow for automating your localization process:
- Set up your
localazy.jsonfile with configurations for all platforms (Android, iOS, web). - Upload your source language files regularly to keep your translations up-to-date.
- Set up a CI/CD pipeline to automatically download new translations whenever they become available.
- Include the conversion object to generate different file formats as needed.
Once you follow this workflow, you will be able to automate the tedious aspects of localization and focus on delivering a great user experience.
⏯️ Related read: Translating my iOS app with Localazy
✔️ Final thoughts 🔗
I hope the tips outlined in this guide help you be well-equipped to handle your next multiplatform localization project. 💪 I found Localazy CLI to be a powerful solution to manage translations across multiple platforms — it simplifies the process, automates repetitive tasks, and helps you maintain consistency in your translations.
If you're a mobile app developer looking to streamline your localization workflow, it's worth considering, as it can save you time and reduce localization errors. Give it a try and see how it can improve your workflow. Book a demo or register now to get started.